Peanut Butter Caramel Stuffed Cookies
Peanut Butter Caramel Stuffed Cookies
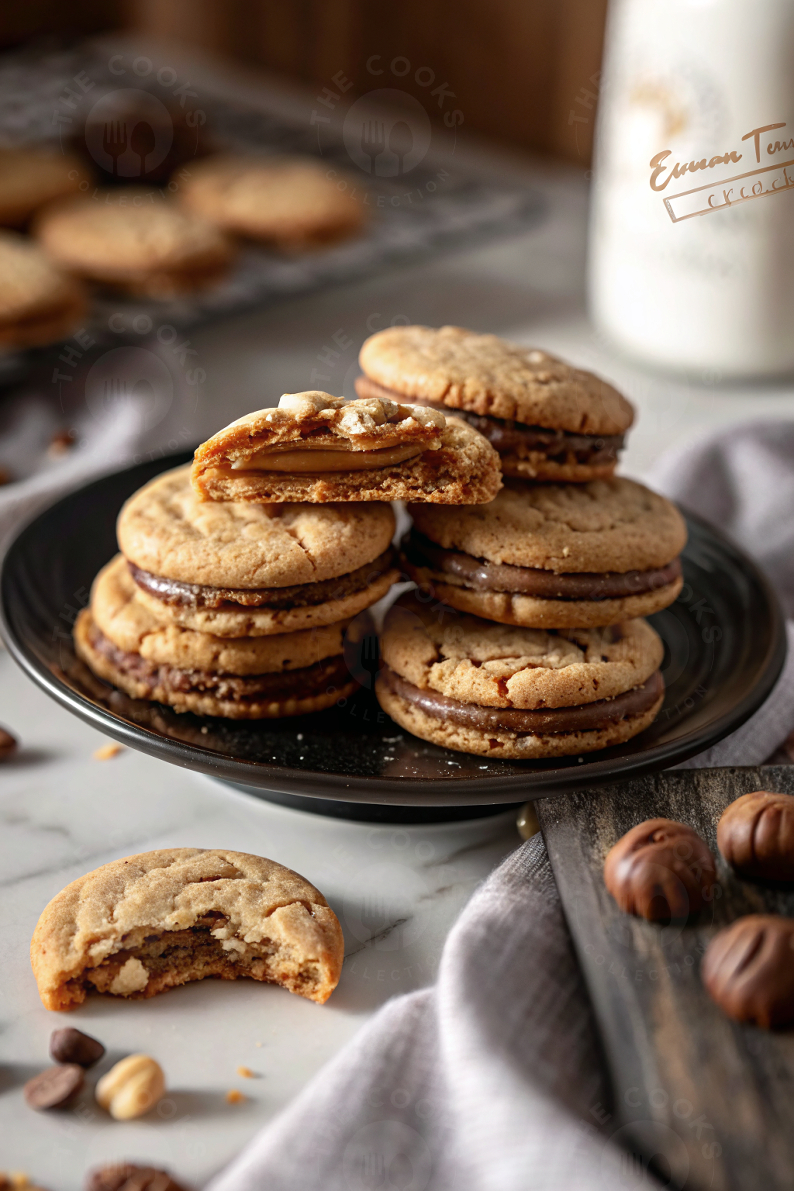
These peanut butter caramel stuffed cookies achieve perfect texture contrast through precise dough hydration and caramel viscosity control. The method focuses on creating a sturdy yet tender cookie structure that contains molten caramel without leaking, using proper dough-to-filling ratios, caramel temperature management, and sealing techniques. The result is soft, chewy peanut butter cookies with pockets of liquid caramel that remain contained until bitten, creating a dramatic textural experience that balances sweet, salty, and nutty flavors.
Why this recipe works
Dough hydration balance. The precise ratio of flour to fats creates a sturdy yet tender cookie structure capable of containing molten caramel without leaking. With 2 1/4 cups flour to 1 cup butter plus 1 cup peanut butter, the dough has enough structural integrity to form a seal around the caramel while remaining soft and chewy after baking. The brown sugar contributes both moisture and acidity, promoting spread and caramelization while the granulated sugar provides structure. This balance prevents the cookies from becoming cakey while ensuring they don’t spread too thin and rupture.
Caramel viscosity control. Combining caramel candies with heavy cream creates a filling with optimal flow characteristics when heated. The cream lowers the caramel’s melting point and increases its viscosity, preventing it from becoming too runny and leaking through the dough during baking. The 1:6 cream-to-caramel ratio (1/4 cup cream to approximately 40 caramels) creates a thick but pourable consistency that sets slightly upon cooling but remains soft and gooey when bitten. This controlled viscosity is crucial for contained caramel pockets that don’t compromise the cookie structure.
Layered assembly method. The two-part dough wrapping technique creates a complete seal around the caramel center. By flattening a portion of dough, placing caramel in the center, then topping with another portion and sealing the edges, you create a dough envelope that contains the filling during the initial oven spring and spread. The gentle sealing motion without overworking the dough maintains the cookie’s tender texture while ensuring no weak points where caramel could escape. This method is more reliable than attempting to form a cavity in a single dough ball.
Temperature management. Using slightly cooled caramel and properly chilled dough prevents premature melting and maintains structural integrity during assembly. The caramel should be cool enough to handle but still pliable, while the dough should be firm enough to shape without sticking excessively. The 375°F baking temperature is high enough to set the cookie edges quickly, creating a barrier that contains the expanding caramel, while the centers remain soft. The brief cooling period on the baking sheet allows the cookies to finish setting without overcooking.
Flavor layering strategy. The peanut butter provides both fat and flavor that complements the caramel without overwhelming it. Using creamy peanut butter ensures even distribution throughout the dough, while the combination of brown and white sugars creates complexity. The optional sea salt garnish enhances both the peanut butter and caramel flavors, creating a sophisticated sweet-salty balance that elevates the cookies beyond simple sweetness.
Ingredients (cups & tablespoons only)
Cookie Dough
- 2 1/4 cupsall-purpose flour
- 1 tspbaking soda
- 1 tspsalt
- 1 cupunsalted butter, softened
- 3/4 cupgranulated sugar
- 3/4 cuplight brown sugar
- 1 cupcreamy peanut butter
- 2 largeeggs
- 1 tspvanilla extract
Caramel Filling & Garnish
- 40 piecescaramel candies
- 1/4 cupheavy cream
- 1/4 cupchopped peanuts (optional)
- 1/4 cupchocolate candies (optional)
- 1 tspsea salt flakes (optional)
Recipe
- Prep oven and pans: Preheat oven to 375°F (190°C). Line baking sheets with parchment paper. The parchment prevents sticking and promotes even browning.
- Combine dry ingredients: In medium bowl, whisk together 2 1/4 cups flour, 1 tsp baking soda, and 1 tsp salt. Whisking ensures even distribution of leavening and salt throughout the flour.
- Cream butter and sugars: In large bowl, cream together 1 cup softened butter, 3/4 cup granulated sugar, and 3/4 cup packed brown sugar until light and fluffy (3-4 minutes). Proper creaming incorporates air for lift.
- Add peanut butter and eggs: Beat in 1 cup peanut butter until well combined. Add 2 eggs one at a time, beating well after each addition. Stir in 1 tsp vanilla extract. Adding eggs gradually prevents breaking the emulsion.
- Combine wet and dry: Gradually add dry ingredients to wet ingredients, mixing until just combined. Do not overmix. Overmixing develops gluten, making cookies tough.
- Prepare caramel filling: In small saucepan, combine 40 caramel candies and 1/4 cup heavy cream. Heat over low heat, stirring constantly, until caramels are melted and smooth. Remove from heat and let cool slightly until thickened but still pourable.
- Assemble cookies: Scoop tablespoon of dough and flatten slightly in palm. Place teaspoon of cooled caramel in center. Top with another small piece of dough and gently seal edges, forming a ball. Ensure complete seal to prevent leakage.
- Arrange on sheets: Place cookie dough balls on prepared baking sheets, leaving 2 inches between each cookie. This spacing allows for proper spread during baking.
- Bake: Bake 9-11 minutes until edges are golden brown. Centers may look slightly soft. Rotate sheets halfway through for even baking.
- Cool properly: Remove from oven and let cool on baking sheets 5 minutes before transferring to wire rack. This allows cookies to set without breaking.
- Garnish (optional): If desired, sprinkle with chopped peanuts, chocolate candies, or sea salt flakes while still warm. The warmth helps garnishes adhere.
- Cool completely: Let cookies cool completely on wire rack before storing. Caramel centers will firm up as they cool but remain soft.
The caramel will be extremely hot when first removed from oven. Allow proper cooling time before eating to prevent burns. Cookies will appear soft when removed from oven but firm up as they cool.
Nutrition (estimated)
| Nutrient | Amount |
|---|---|
| Calories | ~250 kcal |
| Total Fat | 14 g |
| Saturated Fat | 6 g |
| Trans Fat | 0 g |
| Cholesterol | 35 mg |
| Sodium | 220 mg |
| Total Carbohydrates | 30 g |
| Dietary Fiber | 1 g |
| Total Sugars | 18 g |
| Added Sugars | 16 g |
| Protein | 5 g |
| Vitamin D | 0.1 mcg |
| Calcium | 25 mg |
| Iron | 1 mg |
| Potassium | 120 mg |
Nutrition calculated with standard ingredient measurements and assumes 24 cookies. Values are estimates and will vary based on specific ingredient brands and exact measurements.
Dough science & ingredient functions
Flour structure
All-purpose flour provides the ideal protein content (10-12%) for cookie structure without excessive chewiness. The gluten forms a network that contains the caramel while remaining tender. Proper measurement (spoon and level) ensures correct hydration balance.
Fat systems
Butter provides flavor and promotes spread through water content and melting properties. Peanut butter adds both fat and protein, contributing to chewiness and structure. The combination creates a rich, tender crumb with enough integrity to contain filling.
Sugar roles
Granulated sugar promotes spread and crispness. Brown sugar contributes moisture, acidity, and chewiness through its molasses content. The combination creates balanced texture and flavor complexity while helping the cookies hold their shape around the filling.
Caramel preparation & viscosity control
The caramel filling requires precise temperature management and ingredient ratios to achieve the ideal consistency—fluid enough to be gooey when bitten but viscous enough to remain contained during baking.
Caramel stages
- Melting phase: Caramels soften and begin to liquefy (120-140°F). Constant stirring prevents scorching on pan bottom.
- Emulsion phase: Cream incorporates, creating smooth homogeneous mixture (140-160°F). The fat and water components combine temporarily.
- Thickening phase: Mixture cools and viscosity increases (90-110°F). Ideal filling temperature for assembly.
- Baking phase: Caramel re-liquefies and expands (170°F+). Proper dough seal contains this expansion.
- Setting phase: Caramel firms up but remains soft upon cooling. The cream prevents complete hardening.
The heavy cream serves multiple purposes: it lowers the caramel’s melting point, increases viscosity, prevents crystallization, and ensures the filling remains soft and creamy rather than becoming hard and chewy when cooled.
Assembly techniques & sealing methods
Proper assembly is crucial for containing the caramel filling while maintaining an appealing cookie appearance. The technique balances structural integrity with visual appeal.
Dough portioning
Use a tablespoon cookie scoop for consistent sizing. The bottom portion should be slightly larger than the top to create a stable base. Dough should be cool enough to handle without excessive sticking but pliable enough to shape.
Filling placement
Center the caramel on the flattened dough with adequate border. Use approximately 1 teaspoon filling per cookie—too much causes leakage, too little diminishes impact. The caramel should be cool enough to handle but still malleable.
Sealing techniques
Press edges firmly to seal, then gently roll between palms to smooth seams. Ensure no thin spots or gaps. The finished ball should be uniform with no visible filling. Chill assembled cookies 10 minutes if dough becomes too soft.
Baking science & temperature control
The 375°F baking temperature creates the ideal environment for proper cookie spread, caramel melting, and structural setting through careful heat transfer management.
Baking stages
- Initial phase (0-3 minutes): Butter melts, cookies begin to spread. Caramel starts warming but remains viscous.
- Setting phase (3-6 minutes): Edges set, structure forms. Caramel becomes more fluid but contained by setting dough.
- Expansion phase (6-9 minutes): Cookies achieve final spread. Caramel reaches peak liquidity but remains contained.
- Finishing phase (9-11 minutes): Edges brown, centers set. Caramel begins to cool and thicken slightly.
- Carryover phase (5 minutes rest): Residual heat completes cooking. Caramel sets to final consistency.
The parchment-lined baking sheets promote even browning and prevent sticking while allowing the bottoms to cook properly without overbrowning. The 2-inch spacing ensures adequate air circulation for even baking.
Common mistakes (and quick fixes)
- Caramel leakage: Filling too hot or too much, inadequate sealing. Use cooler caramel, less filling, ensure complete seal. If leaking occurs, remove cookies immediately and enjoy as “caramel thumbprints”.
- Tough cookies: Overmixing dough or measuring flour incorrectly. Mix until just combined, spoon and level flour. If dough is overmixed, chill 30 minutes to relax gluten.
- Excessive spread: Butter too soft or inadequate chilling. Use properly softened butter (65°F), chill dough 15 minutes if too soft. For already spread cookies, they’ll still taste great.
- Burnt bottoms: Dark baking sheets or oven too hot. Use light-colored sheets, check oven temperature. If bottoms brown too quickly, move to higher rack.
- Pale cookies: Oven too cool or inadequate baking time. Verify oven temperature, extend baking 1-2 minutes. For already baked pale cookies, they’ll still taste good.
- Hard caramel: Caramel overcooked or insufficient cream. Use low heat, proper cream ratio. If caramel hardens, warm cookies briefly to soften.
- Dry cookies: Overbaking or too much flour. Set timer, measure flour correctly. If cookies are dry, serve with ice cream to compensate.
- Flat cookies: Butter too warm or expired baking soda. Use cooler butter, fresh leavening. For flat cookies, they’ll still have great flavor.
Substitutions & variations
Different flours
- Bread flour: chewier texture
- Whole wheat: nuttier, denser
- Gluten-free blend: 1:1 substitution
- Oat flour: softer, more crumbly
Different nut butters
- Almond butter: milder flavor
- Cashew butter: creamy, subtle
- Sunflower seed butter: nut-free option
- Tahini: savory twist
Different fillings
- Chocolate ganache: rich alternative
- Fruit jam: brighter flavor
- Nutella: hazelnut-chocolate
- Cookie butter: spiced option
Different sweeteners
- Coconut sugar: lower glycemic
- Maple syrup: liquid adjustment needed
- Honey: flavor variation
- Monk fruit: sugar-free option
Mix-in variations
- Chocolate chips: classic addition
- Chopped nuts: textural contrast
- Oats: heartier texture
- Pretzel pieces: salty crunch
Special diets
- Vegan: plant-based substitutes
- Gluten-free: GF flour blend
- Dairy-free: vegan butter, coconut cream
- Reduced sugar: sugar alternatives
Any substitution may affect cooking time, texture, and flavor balance. When substituting nut butters, consider oil content and adjust flour if necessary. Liquid sweeteners require reduction in other liquids.